In this tutorial, we are going to see about Kali Linux live USB boot with persistence. Before seeing about persistence,you need to know about the Kali Linux live USB. If you aware about Kali Linux live USB,then you should know about Persistence. Then step into the tutorial…..
STEP-1:

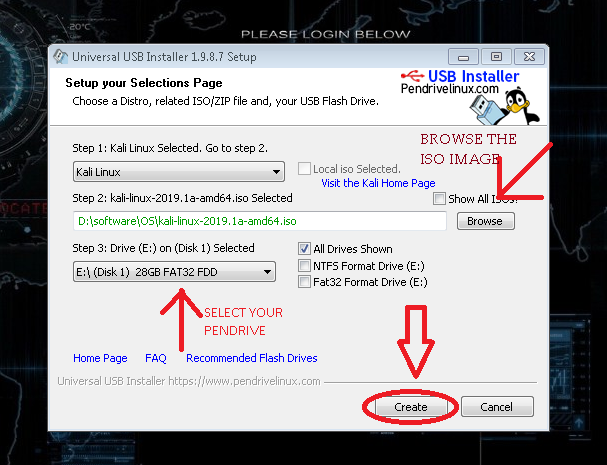
STEP-2:
Then click “Create”.
STEP-3:
Open the Mini tool partition wizard and run.

STEP-4:
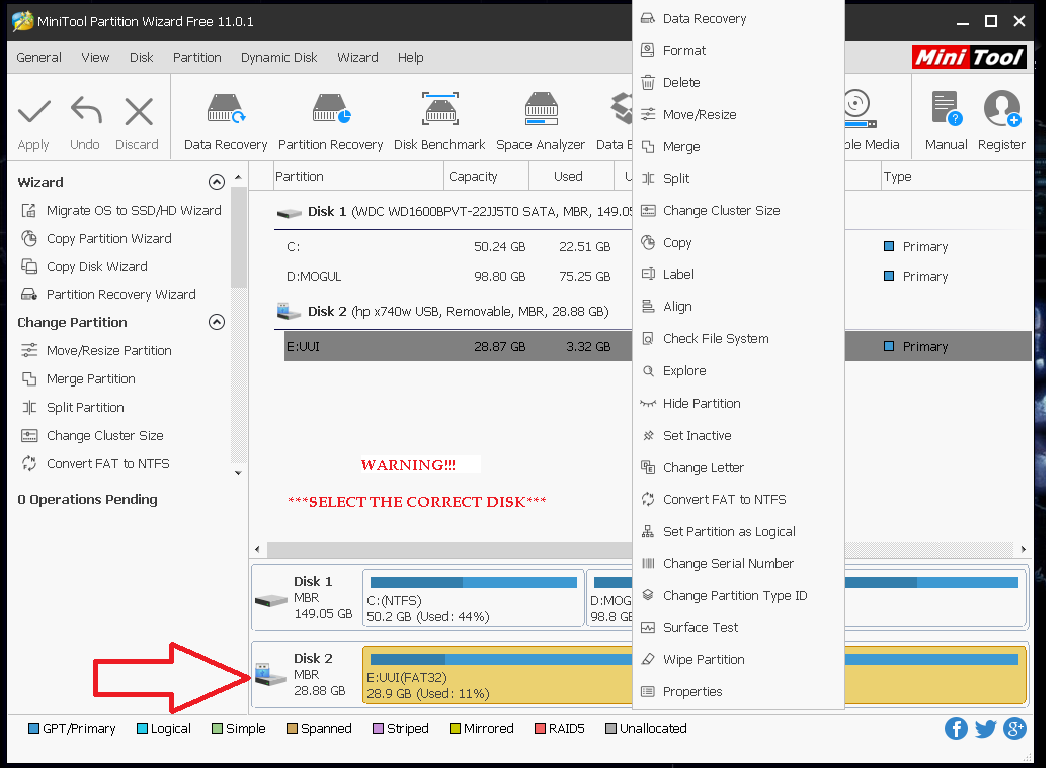
1.Select the disk(PEN DRIVE)and press “Right click”.
2.Then select “Move and resize” option.
STEP-5:
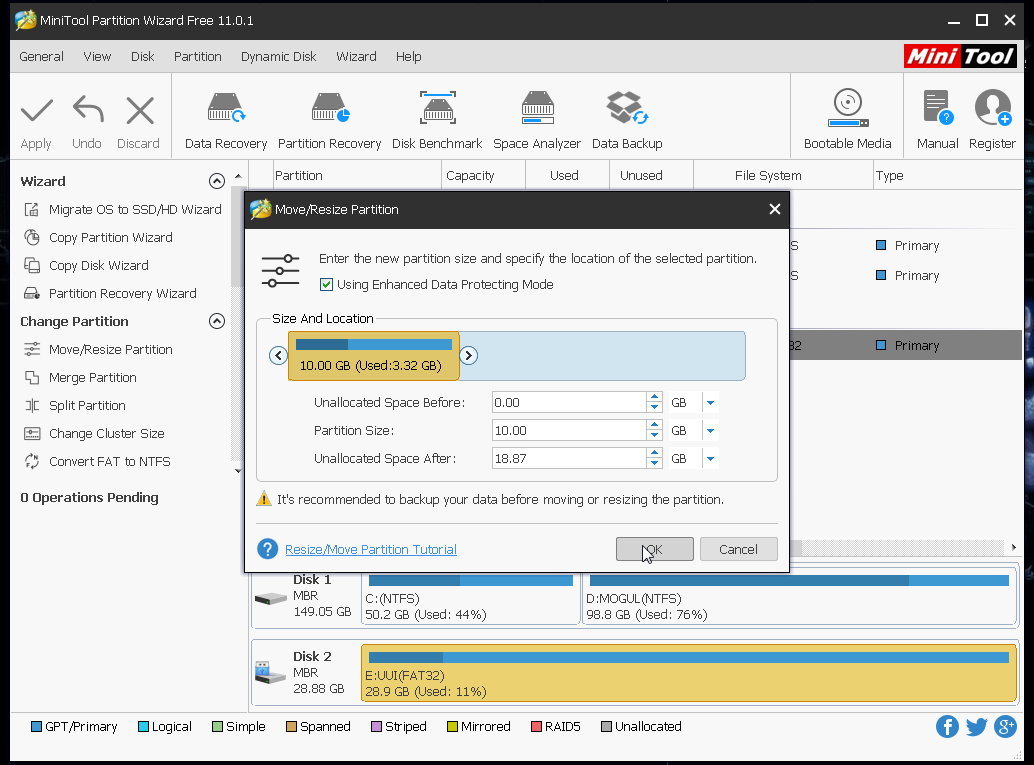 Now select the size for operating system.(I have selected 10gb).
You can select as much as you want. Then click OK.
STEP-6:
Now the unallocated space will create.
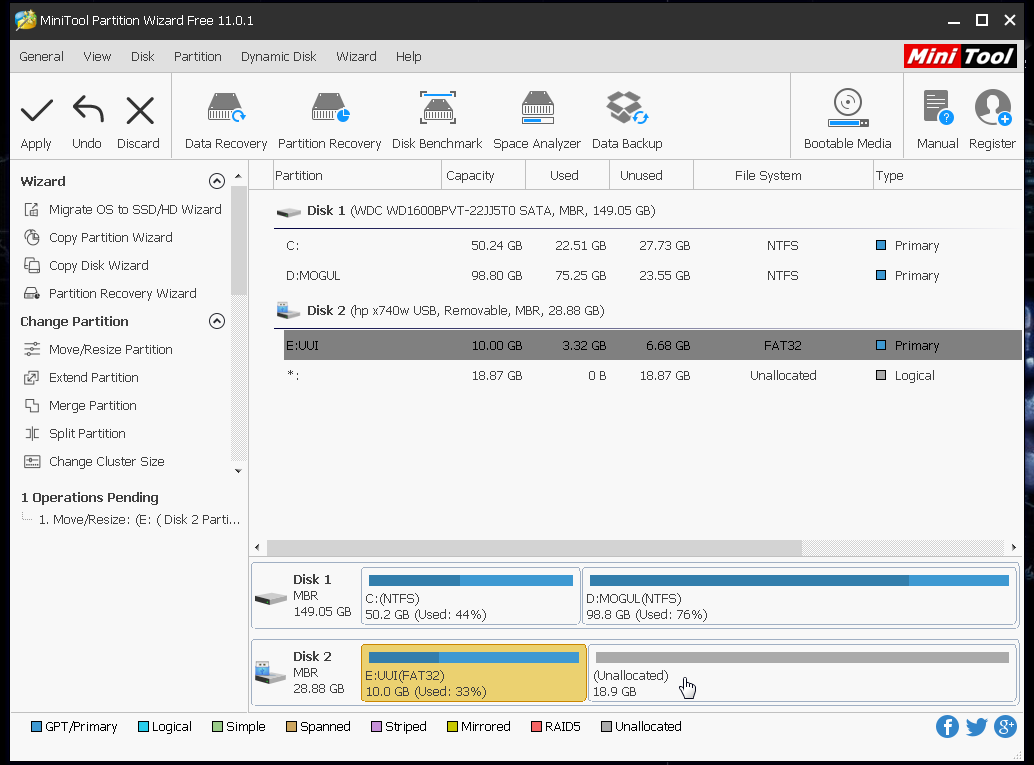
Now click yes.

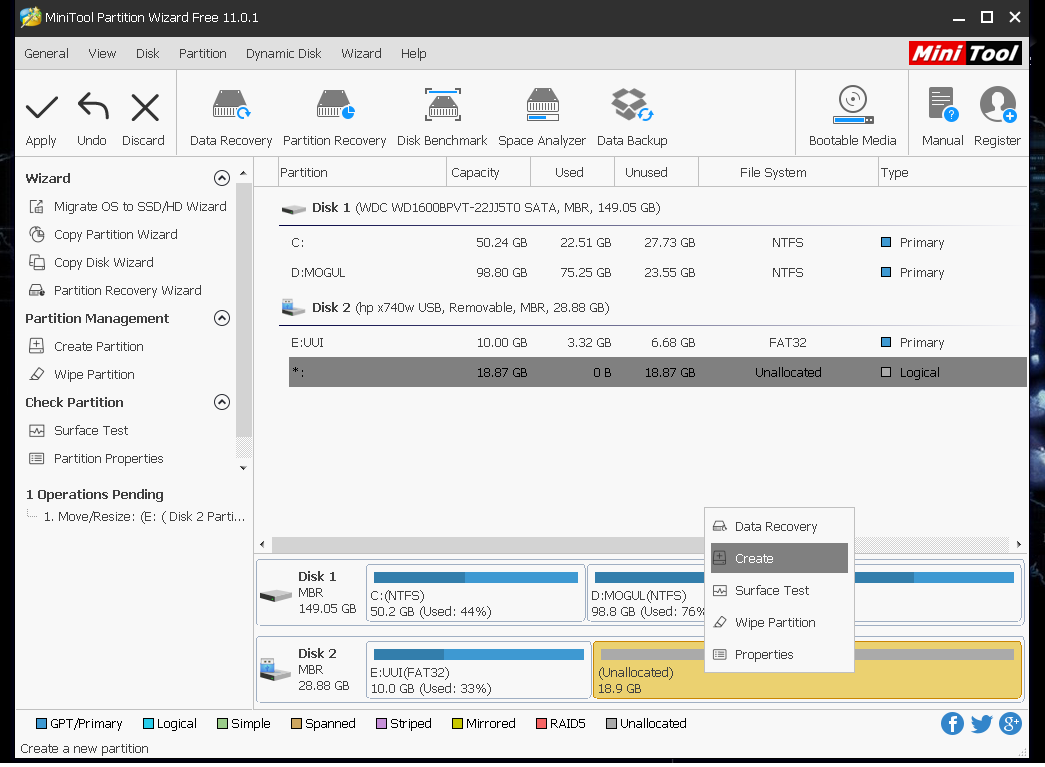
Now the “create new partition” window is open.
Now select the unallocated area of pen drive for storage(persistence).
Now fill the followings:
Partition Lable: persistence
Create as: Primary            Drive Letter:None
File System: Ext4             Cluster Size:Default
Now click ok.

Now the partition is created.

STEP-7
Now we must Apply the changes.

Now click Yes.
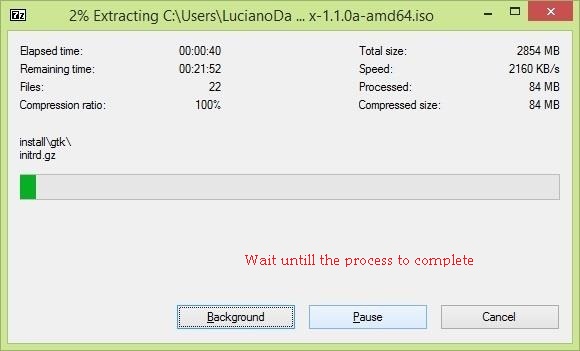
Wait untill this process to complete.

BOOTING THE PEN DRIVE
Now boot the processed pen drive.
Select the “Live USB Persistence”.

Setting Up Persistence (Configuring the Partition)
1.Open the terminal
2. Now follow these steps correctly:
Determine which partition of your drive you'll use
fdisk -l
Make a directory on the filesystem to mount your USB
mkdir -p /mnt/my_usb
Mount the partition on the directory you made (don't click the desktop icon labeled persistence!)
mount /dev/sdc2 /mnt/my_usb
Add a configuration file to enable persistence
echo "/ union" > /mnt/my_usb/persistence.conf
Unmount the partition and reboot
umount /dev/sdc2 && reboot


This article is used for freshers with easy steps and it is only for windows users.